How to Stretch an Image for Printing — Inches, cm, mm & DPI Guide
ImageStretcher
How to stretch an image for printing using inches, cm, or mm with DPI. Learn the pixel math, then export a print-ready size in your browser.
A print shop asks for a 4×6. A form asks for ten centimeters across. A sticker die asks for 40 by 25 millimeters. The file on disk still has no inches in it. Stretching to a physical size means choosing in, cm, or mm, setting DPI so the ruler length becomes a pixel box, then exporting that box. Leave DPI at the wrong preset and the same 4×6 is either a soft 288×432 or a heavy 1200×1800.
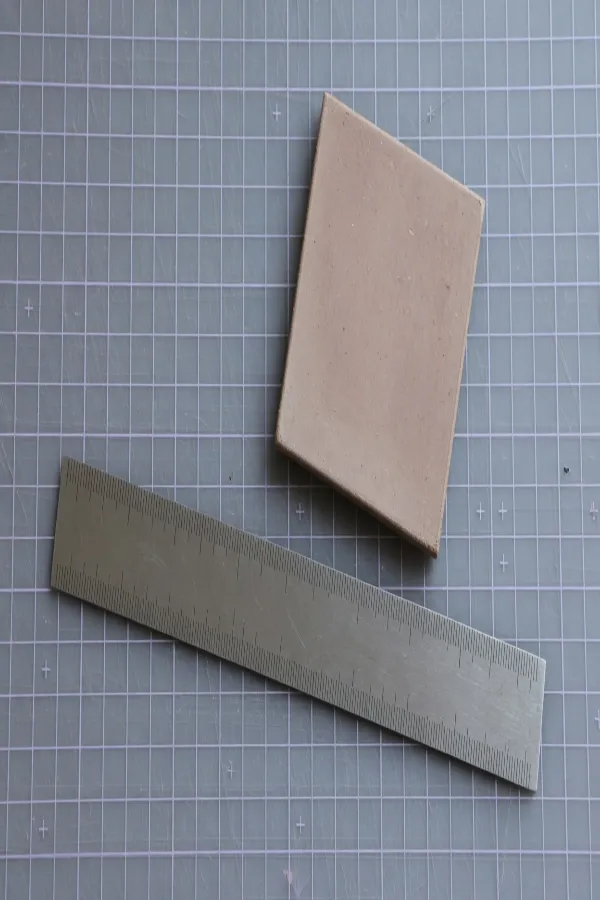
The photograph this page measures is one overhead of a cutting mat: a steel rule with tick marks and no numerals, and one unglazed square tile. The file is 1248×832. On that bitmap the tile's box is 423 pixels wide and 424 tall, starting at column 577 and row 87. The two edges are one pixel apart. Every frame below is this same bitmap fitted to another width and height. The tile was not redrawn.
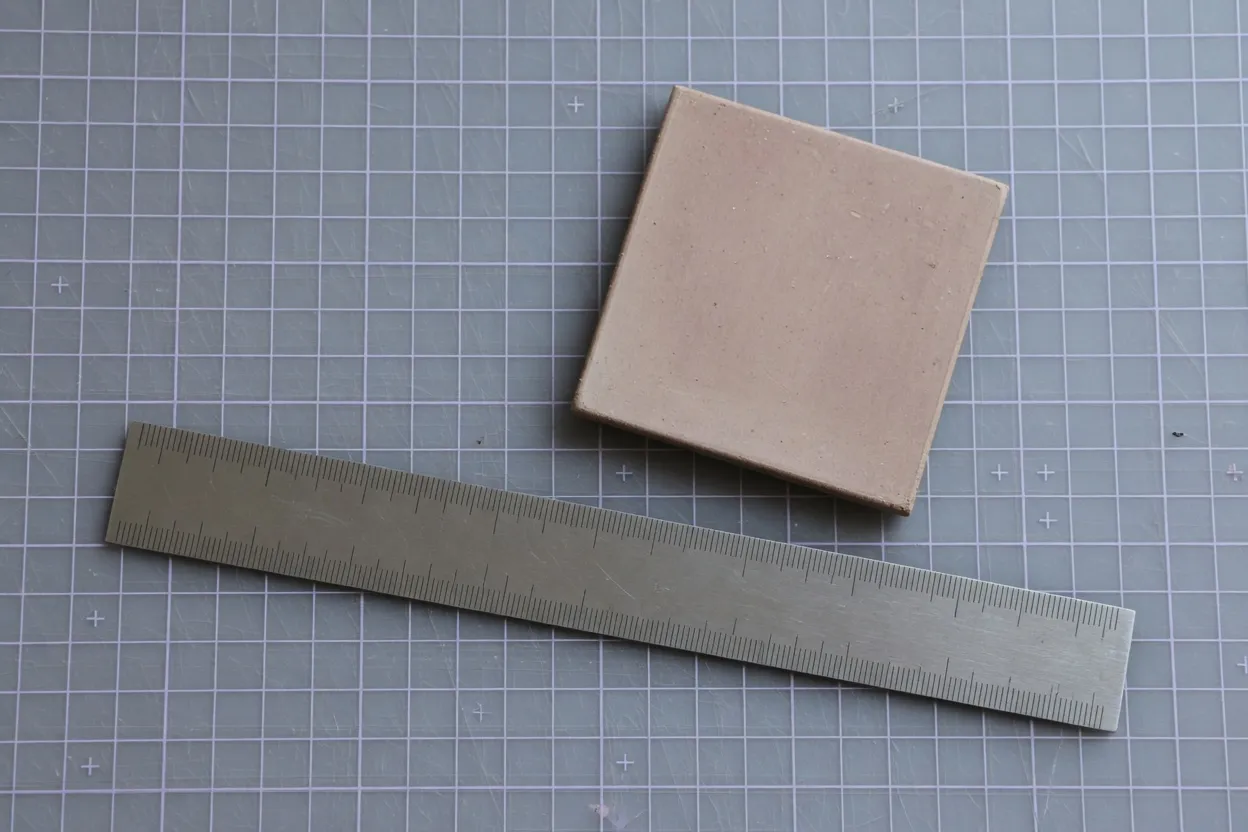
What the unit pills actually change
px writes the output width and height directly. The DPI row stays hidden, because a pixel box does not need a ruler. in, cm, and mm turn Width and Height into physical lengths, and the stretcher multiplies by DPI to get the pixels it paints.
Inches are the short form: length × DPI. Four inches at 300 DPI is 1200 pixels. The same four inches at 72 DPI is 288. Centimeters and millimeters pass through 2.54 and 25.4. Ten centimeters is 10 ÷ 2.54 inches, about 3.937, and at 300 DPI that edge is 1181 pixels. Forty millimeters is 40 ÷ 25.4 inches, and at 300 DPI that edge is 472 pixels. The pills rewrite the field labels. The canvas underneath is still a pixel grid, and the download is still PNG, JPEG, or WebP.
Free under Aspect is what lets those two fields disagree. A 4×6 is not the shape of this 1248×832 photograph, so the tile has to change shape to fill the print. Unlock stretch ratio is the other control, the one on the stretch factors. It does not switch the unit, and it does not unlock the inch fields.
Worked sizes people actually type
A classic 4×6 at 300 DPI is 1200×1800. Height grows by 1800 ÷ 832, about 2.16, while width shrinks by 1200 ÷ 1248, about 0.96. The tile box maps to 407×917. A square on the source becomes a tile more than twice as tall as it is wide. The rule's ticks stretch on the same pass. The mat's square grid becomes a field of tall cells. That is the print box, not a new photograph of the tile.
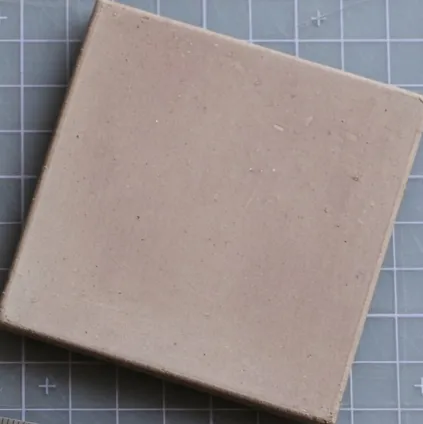
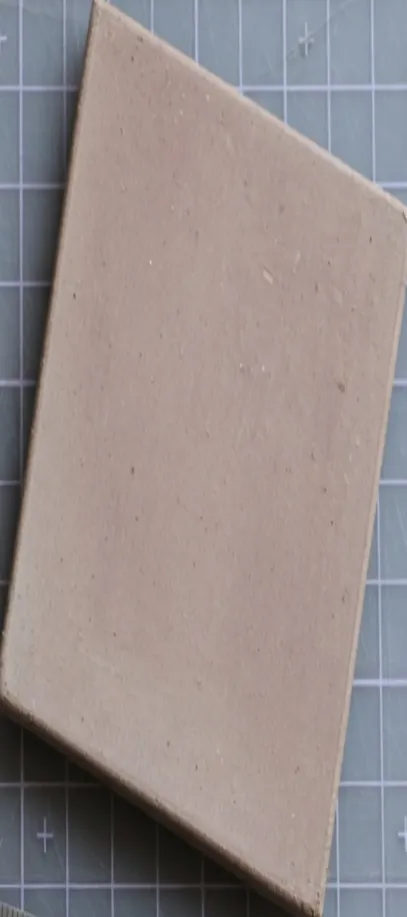
The square crop is the tile as the camera recorded it, one pixel off a perfect square because the corner did not land on an integer after the source was fit to 1248×832. The tall crop is those same corners on the 4×6 bitmap. 423 × (1200 ÷ 1248) is 407. 424 × (1800 ÷ 832) is 917. Shops that say “four by six” without another note are asking for this 1200×1800 at 300 DPI, and for the subject to survive that remap.
A 10×15 cm order at the same 300 DPI is 1181×1772. The short side is 19 pixels under 1200. The long side is 28 pixels under 1800. On a ruler, 4 inches is 101.6 mm and 10 cm is 100 mm, so the paper difference is about 1.6 mm on the short edge and 2.4 mm on the long edge. The tile maps to 400×903: 423 × (1181 ÷ 1248) and 424 × (1772 ÷ 832). It is the same tall tile, a hair smaller. Metric paperwork and a US 4×6 are not two different stretches. They are two names for almost the same print.
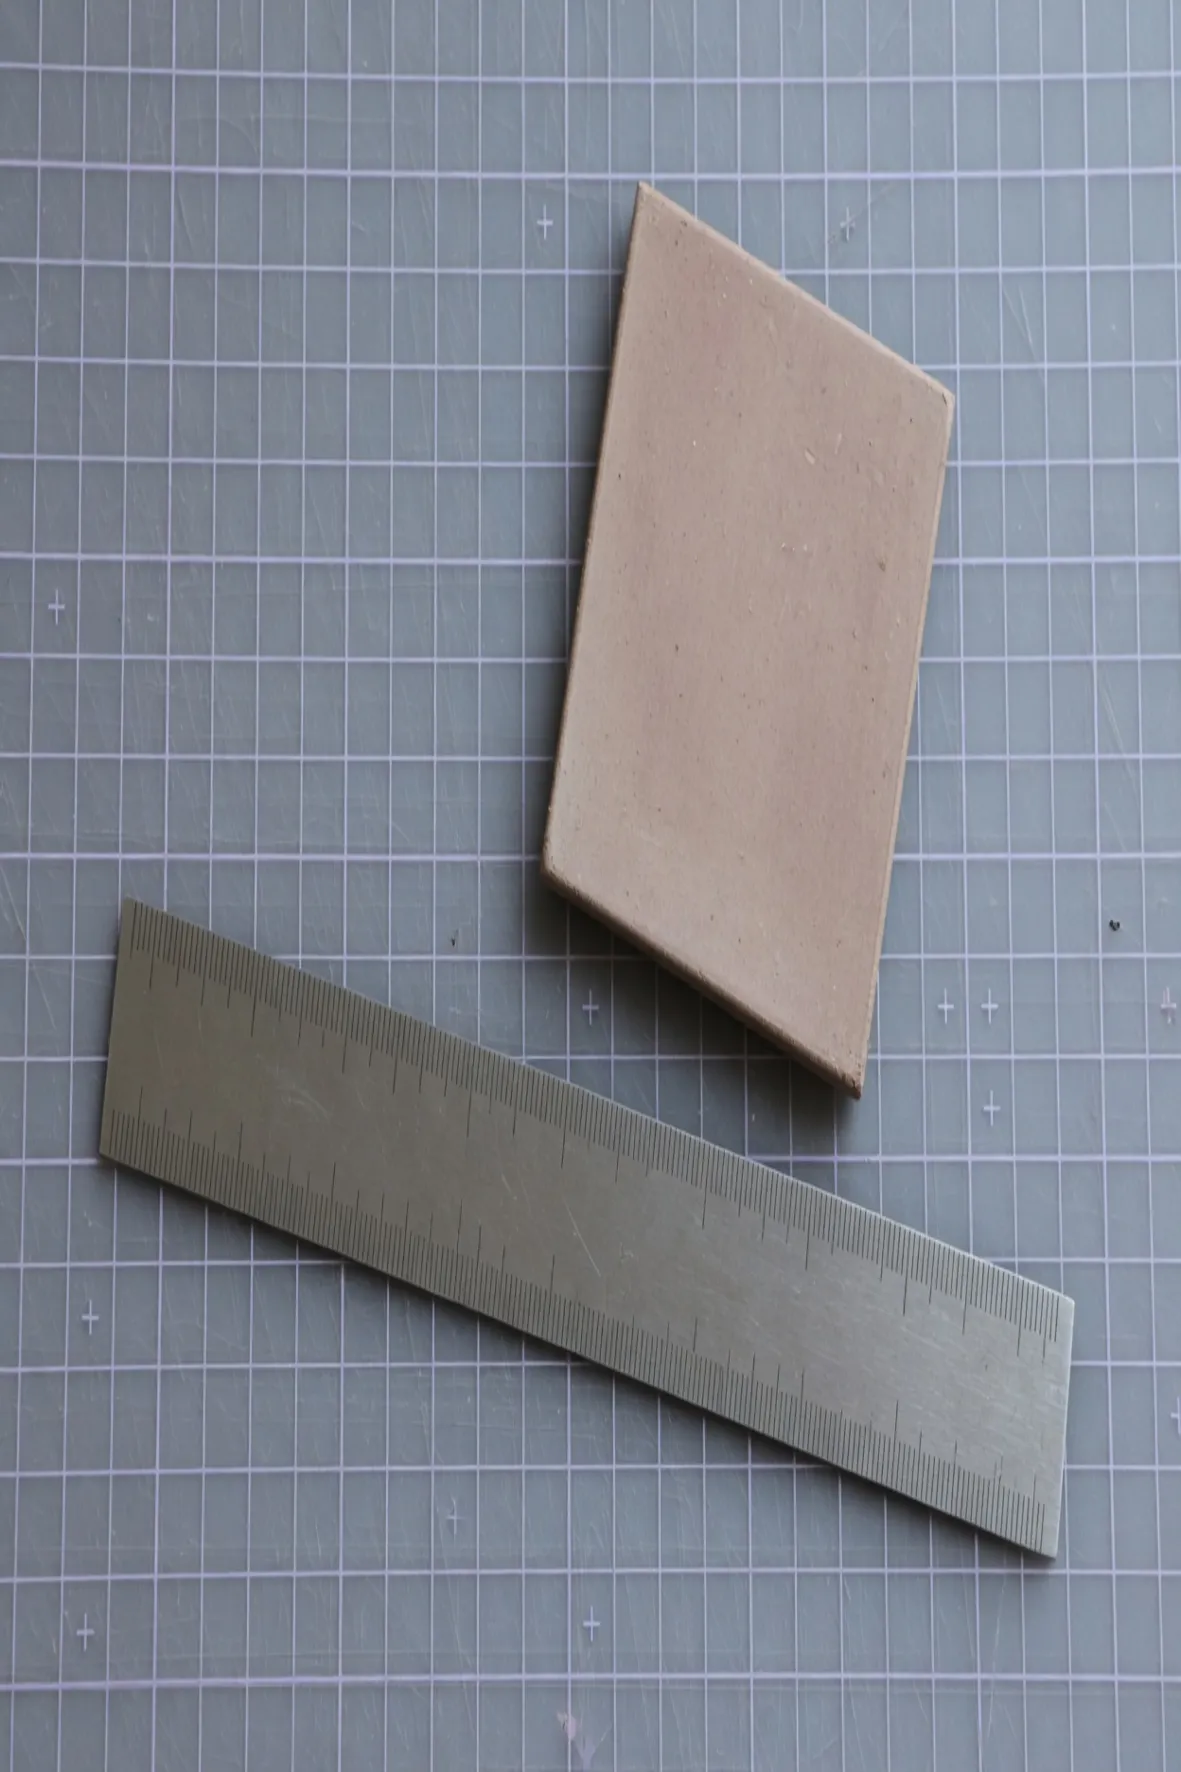
1181×1772 is what cm plus 300 DPI does with 10 and 15. Typing 10 and 15 under in would be ten inches by fifteen, 3000×4500, a poster. The pill is the whole difference.
Millimeter briefs show up on stickers and small trims, where a one-millimeter miss is obvious on the die. 40×25 mm at 300 DPI is 472×295. This photograph is already near that shape (1248 ÷ 832 is 1.50, and 472 ÷ 295 is 1.60), so the tile barely leaves the square: the mapped box is 160×150. The lesson in the pair below is the size, not another warp. Four inches is 101.6 mm. The label's long side is 40 mm, about 0.39 of that, and the file is 472 pixels wide instead of 1200.
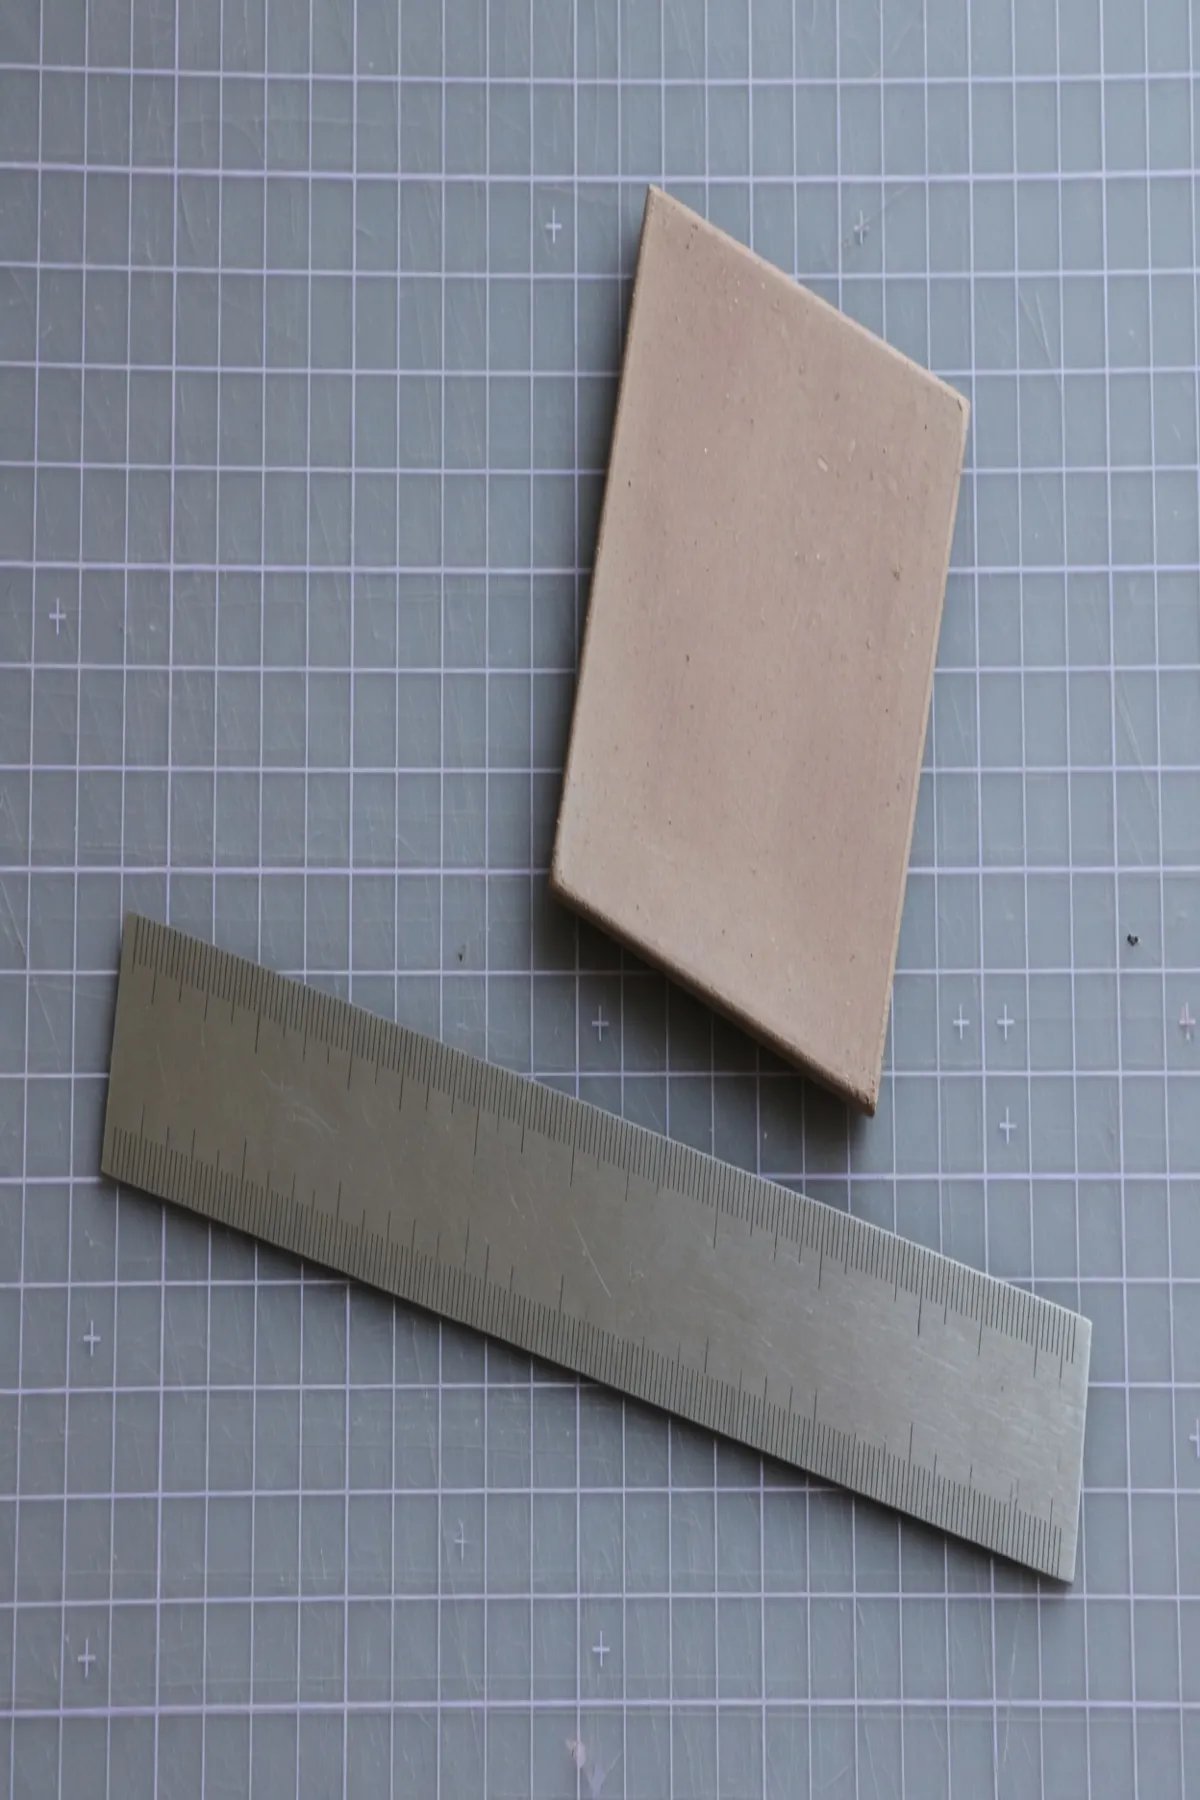
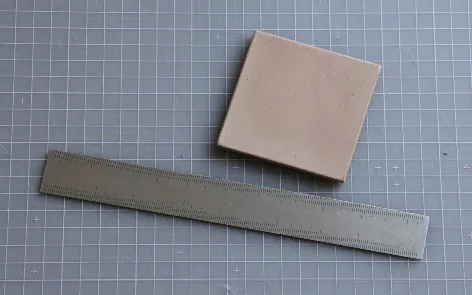
The wide frame is the inch print. The narrow frame is the label, at the same scale, so 40 mm sits next to 4 inches instead of being blown up to the column. Both are 300 DPI. Only the ruler length changed.
Picking a DPI that matches the brief
The tool defaults to 300. That is the density most print briefs assume when they name inches or centimeters and stop. The same 4×6 at the other presets is a different file:
| DPI | 4×6 in pixels | What you are holding |
|---|---|---|
| 300 | 1200×1800 | The shop file above |
| 150 | 600×900 | Half the pixels on each edge |
| 96 | 384×576 | A screen-ish 4×6, not pictured |
| 72 | 288×432 | The download in the next figure |
96 DPI is 4 × 96 by 6 × 96. It sits in the preset row between 72 and 150. A custom value is for a brief that names a number those four do not include. At 254 DPI a centimeter is 100 pixels, because 2.54 × 100 = 254, so 10 cm becomes 1000 pixels on the nose. The preset row will not type 254 for you.
Wrong DPI does not change the inches printed under Width. It changes how many pixels that inch becomes, which is the only thing in the download. A 4×6 set to 72 when the shop meant 300 is a small file asked to cover the same paper. A 4×6 set to 600 by accident is 2400×3600, the same inches and four times the pixels of the 300 DPI file on each edge.
The 72 DPI download really is 288×432. Shown at the size of the 1200×1800 print, the browser would blur it. The blocky frame further down is that 288×432 bitmap drawn back up to 1200×1800 with smoothing off, so the 4×6 page shows the pixels you would actually send.
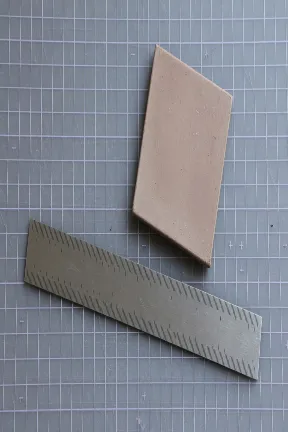
288×432. Four inches times 72, and six inches times 72. This is the file. The next row is three ways of looking at one 4×6: that small bitmap enlarged without smoothing, the 150 DPI file, and the 300 DPI file.
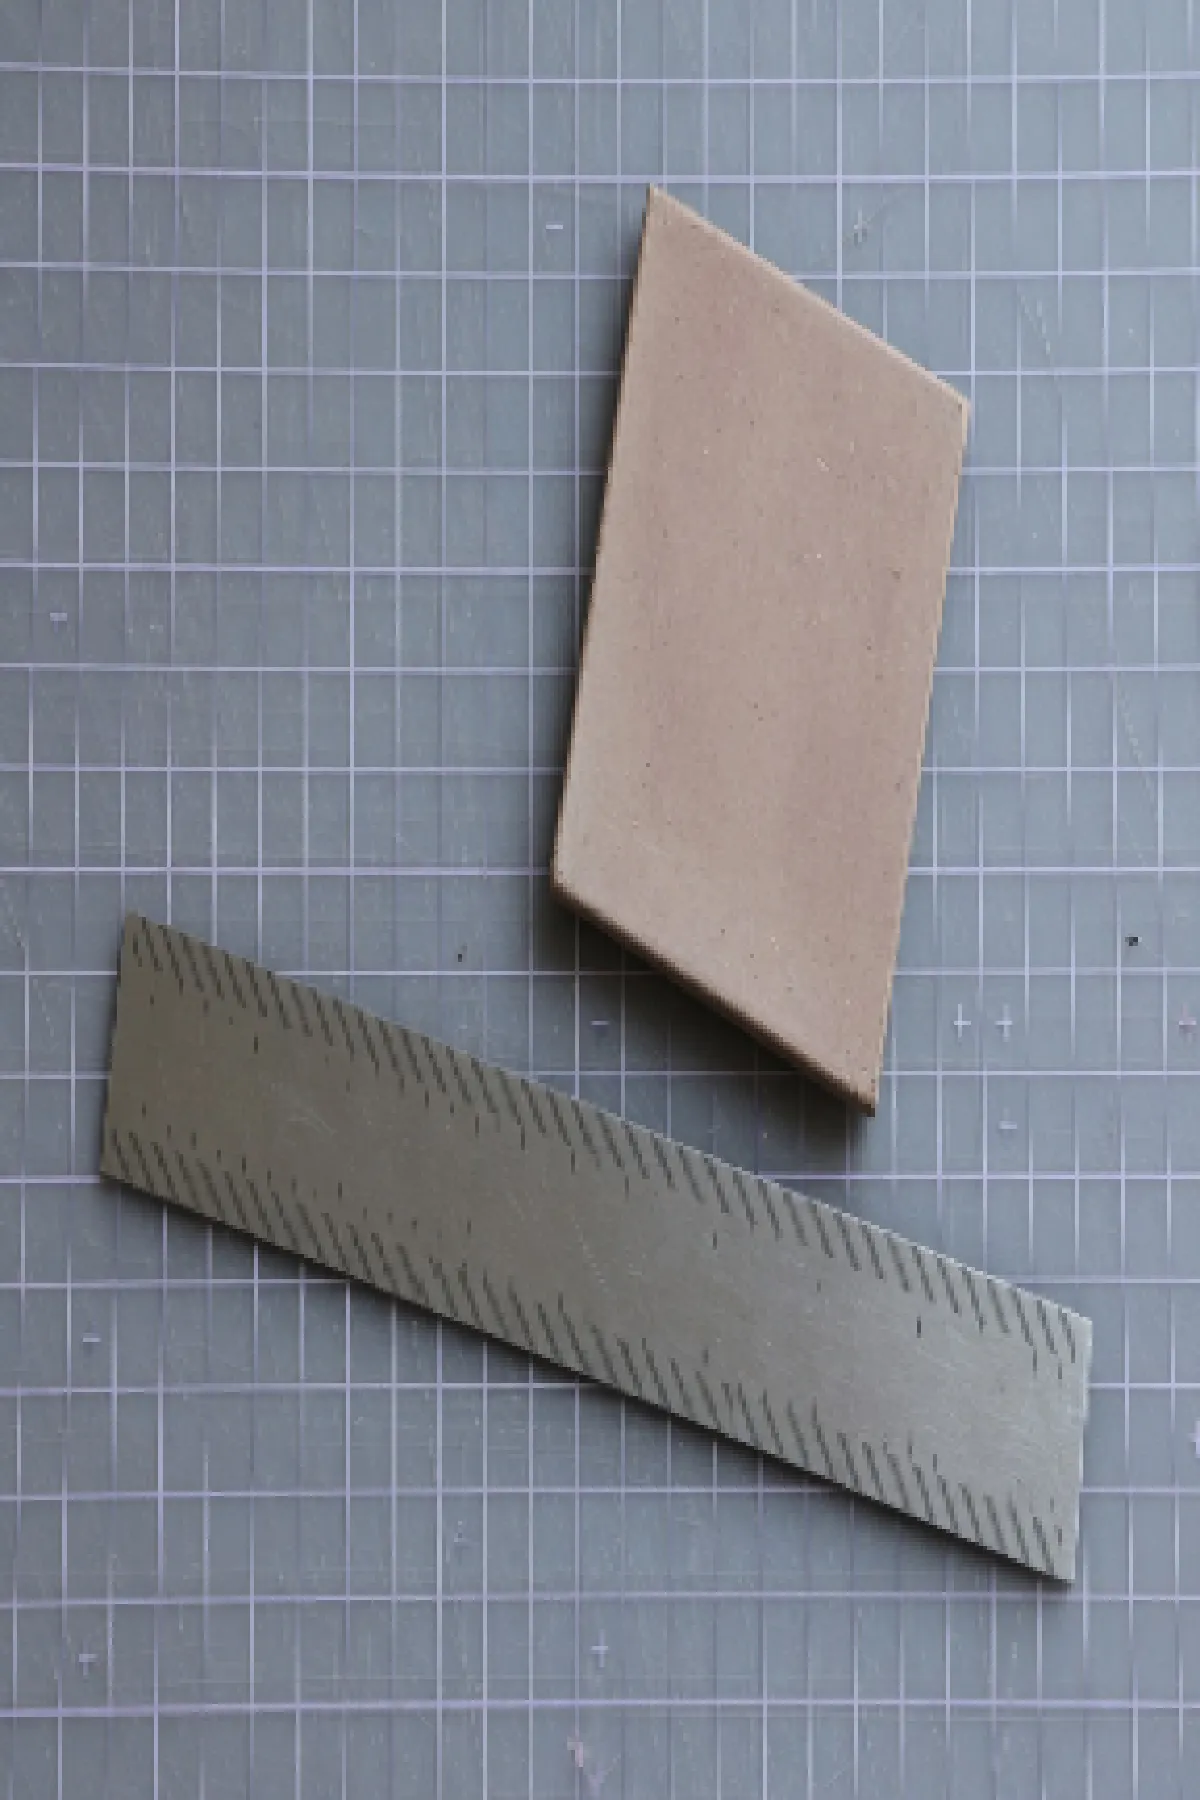
The three columns are one paper size. 72 DPI is the coarse one because each edge has 288 and 432 samples. 150 DPI has 600 and 900. 300 DPI has 1200 and 1800. None of them restores the square tile. Density and shape are separate. DPI picks the density. The inch box, once it disagrees with 1248×832, picks the shape.
px ignores the DPI row entirely. Typing 1200 and 1800 under px produces the same pixel box as 4×6 at 300 DPI, and it does that even if a 72 were sitting in a preset you are not looking at. Typing 288 and 432 under px matches the 72 DPI inch file. The pixels are the product. The unit only decides whether you type the product or the ruler length.
Steps in ImageStretcher
- Open the stretcher on the home page
- Drop in a PNG or JPEG — the canvas stays in the browser
- Under Unit, choose px, in, cm, or mm
- On in, cm, or mm, set DPI to 72, 96, 150, 300, or a typed value
- Choose Free under Aspect, then set Width and Height in that unit
- Download PNG, JPEG, or WebP once the tile, or your own subject, fills the box you meant
A 4×6 from this photograph is in, DPI 300, Width 4, Height 6. A 10×15 cm card is cm, DPI 300, Width 10, Height 15. A 40×25 mm label is mm, DPI 300, Width 40, Height 25. px is for the moment the brief already did the multiplication and handed you 1200 and 1800.
Open the unit the brief already uses
The old unit URLs now open the aspect and unit page with the pill filled in. Inches, centimeters, and millimeters each start on that unit at 300 DPI. Pixels hides DPI. DPI opens on inches so the density can be set before the length.
The templates gallery still lists those entries next to the platform and paper seeds. A named sheet such as A4 or Letter is a finished pixel box, not a freehand length. That path is stretch for printing, and the sheet-by-sheet numbers live in how to stretch an image for printing. This page does not repeat the A4 table.
A typed length, and a named sheet
5.2 cm by 7.8 cm, or a 40×25 mm sticker, is a typed Width and Height. The unit pills exist for that. Named paper already has a pixel seed, so an A4 brief does not need to be rebuilt as 8.27 by 11.69 inches unless you want to watch the multiplication. A 4×6 is not one of those named sheets here. It is the inch example above: 1200×1800 at 300 DPI, 600×900 at 150, 288×432 at 72.
The label in the pair is the millimeter case of the same idea. 472×295 will not pass for a 4×6, and 1200×1800 will not fit a 40 mm die. Match the unit the brief wrote down, then match the DPI it named, and the pixel box follows.
Privacy note
The stretch stays on this machine. A centimeter proof, a 4×6 for a lab, or a millimeter label does not upload the original with the export.
The home page tool is where 4 and 6 inches, 10 and 15 centimeters, or 40 and 25 millimeters become the pixel box the DPI implies.