Standard Photo Sizes: What Every Common Print Size Is in Inches, CM, and Pixels
ImageStretcher
Standard photo sizes from 4×6 to 20×30 in inches, centimeters, and pixels at common print DPI — plus how to remap a photo into that print box.
People who type standard photo sizes usually want the lab’s names turned into a file size. Four by six, five by seven, and eight by ten are still how a counter names a print. A form from another country prints centimeters. The file on the card is only pixels. This page lists the common sizes from 4×6 through 20×30 in all three, then draws one compass into those boxes so the inch name is a shape you can see.
It is a print-size chart. A mat opening inside a moulding is a different order, and a social Story canvas is a different pixel count. The pictures are one brass compass on navy wool, saved at 1248×832.
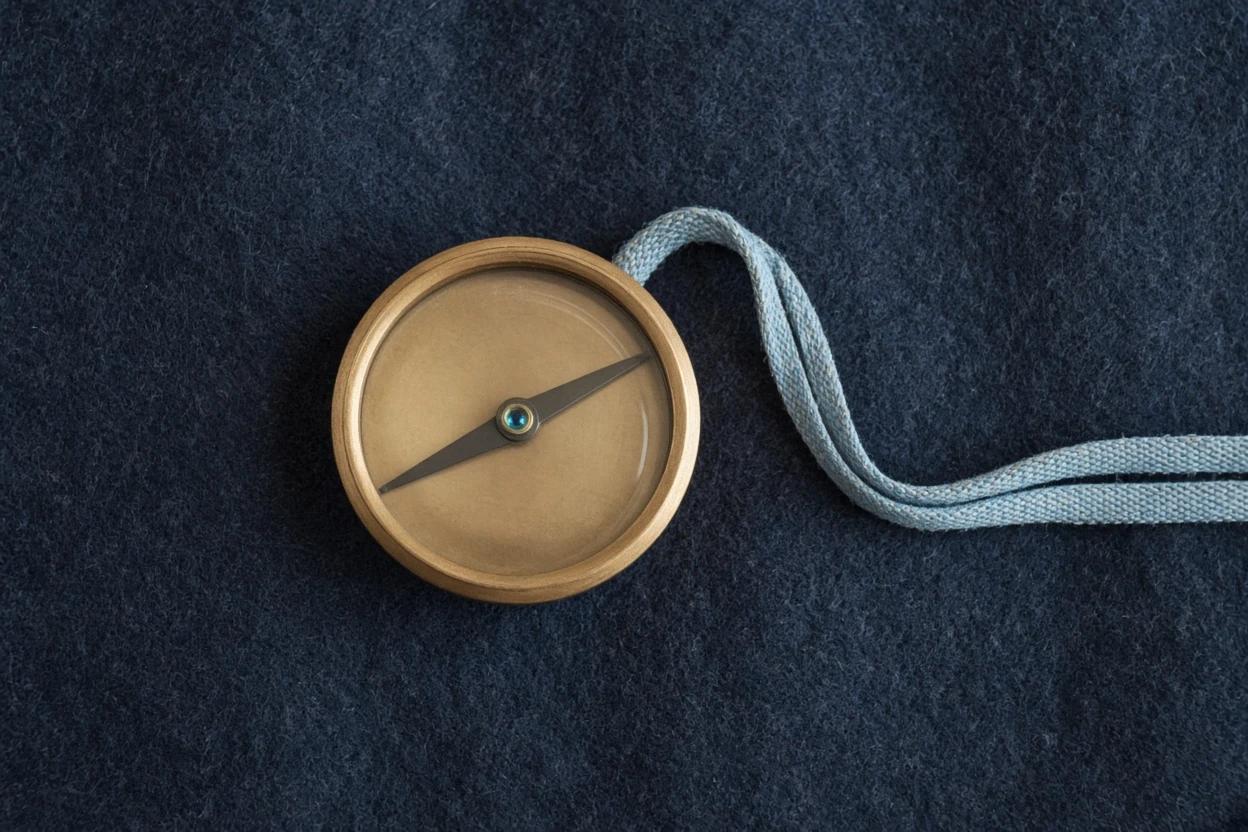
The dial is the ruler. At 359×364 it is almost a circle, 359/364, about 0.99. The needle crosses that circle, so a later squeeze is easy to see: a circle that becomes 69 pixels wide and 158 tall no longer reads as a compass face. The cord is the other ruler. It leaves the wool just to the right of the brass and runs off the photograph. A print box that keeps every source pixel keeps that cord. A print box cut as a window around the dial can leave the run outside.
1248×832 is 3:2. None of the lab names below is 3:2. You either draw every source pixel into the lab box, which changes the dial, or you keep a window of the lab’s shape and throw the rest away. How to change the aspect ratio of an image is the longer decision when you are still choosing the shape. Come back when the name you need is one of these prints.
The lab names, in inches, centimeters, and pixels
Most consumer labs treat 300 DPI as the quiet default once they have named an inch size and stopped talking. Pixels on each edge are inches × 300. Centimeters below are inches × 2.54, to one decimal. The names are the usual landscape way of saying the paper. A portrait of the same sheet swaps the two numbers and does not become a new product.
| Print size (in) | Size (cm) | Pixels at 300 DPI |
|---|---|---|
| 4 × 6 | 10.2 × 15.2 | 1200 × 1800 |
| 5 × 7 | 12.7 × 17.8 | 1500 × 2100 |
| 6 × 8 | 15.2 × 20.3 | 1800 × 2400 |
| 8 × 10 | 20.3 × 25.4 | 2400 × 3000 |
| 8 × 12 | 20.3 × 30.5 | 2400 × 3600 |
| 11 × 14 | 27.9 × 35.6 | 3300 × 4200 |
| 12 × 18 | 30.5 × 45.7 | 3600 × 5400 |
| 16 × 20 | 40.6 × 50.8 | 4800 × 6000 |
| 20 × 24 | 50.8 × 61.0 | 6000 × 7200 |
| 20 × 30 | 50.8 × 76.2 | 6000 × 9000 |
A European 10 × 15 cm order is the metric cousin of 4 × 6. 4 × 2.54 is 10.16, and 6 × 2.54 is 15.24, so the table’s 10.2 × 15.2 is the rounded inch row, not a promise that the lab’s centimeter slip is the same to the tenth. When the slip prints centimeters exactly, trust the slip. 10 cm at 300 DPI is 1181 pixels, and 15 cm is 1772. That pair is the worked example on how to stretch an image in inches, cm, or mm, next to the same 4 × 6 at 150 DPI (600 × 900) and at 72 DPI (288 × 432). This chart stays at 300. Changing the DPI keeps the inch name and replaces the bitmap.
Photo print sizes in a shop menu are this family of names. The table is what those labels resolve to when someone finally asks for pixels.
Named office sheets are a different catalog. A4, US Letter, and Tabloid are paper names, not lab photo names, and their 300 DPI boxes are written up in how to stretch an image for printing and on the Print templates landing. Use this chart when the brief says four by six. Use the paper pages when the brief says A4.
Names that share a shape
Several rows are the same rectangle at a larger inch count. 4 × 6, 8 × 12, 12 × 18, and 20 × 30 are all 2:3. 8 × 10 and 16 × 20 are both 4:5. Ordering the bigger name in that family does not pick a new crop. It picks a larger pixel count at 300 DPI: 1200 × 1800 against 2400 × 3600, 3600 × 5400, and 6000 × 9000 for the 2:3 papers, and 2400 × 3000 against 4800 × 6000 for the 4:5 papers.
5 × 7 is 5:7. 6 × 8 is 3:4. 11 × 14 and 20 × 24 (5:6) do not match either family. Those four are the rows where a bigger print is also a different window.
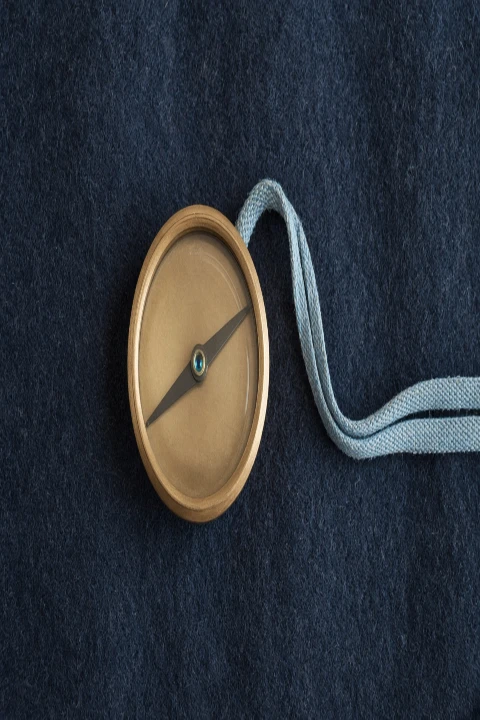
The page files are one fifth of the 300 DPI pixel box, so a 20 × 30 can sit in the article as 1200 × 1800 instead of 6000 × 9000. Multiply an edge by 5 and you are back on the table. The shape does not change in that division. An 8 × 12 and a 4 × 6 are the same 2:3. On this page that is 480 × 720 beside 240 × 360, twice the edge and four times the pixels. The lab files are those edges times five: 2400 × 3600 and 1200 × 1800.
One compass on five papers
The five prints below share a bottom edge, and the width of each follows the inch width, 4 against 5 against 8 against 11 against 20. A 20 × 30 really is that much larger than a 4 × 6. Every source pixel is in each file. The dial’s box is mapped by the same factors as the edges.
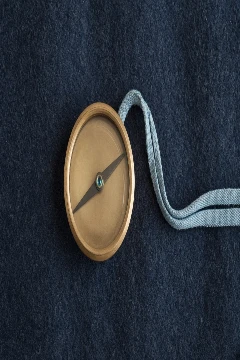
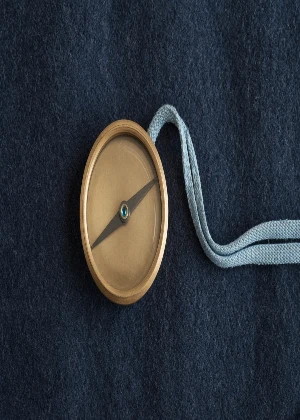
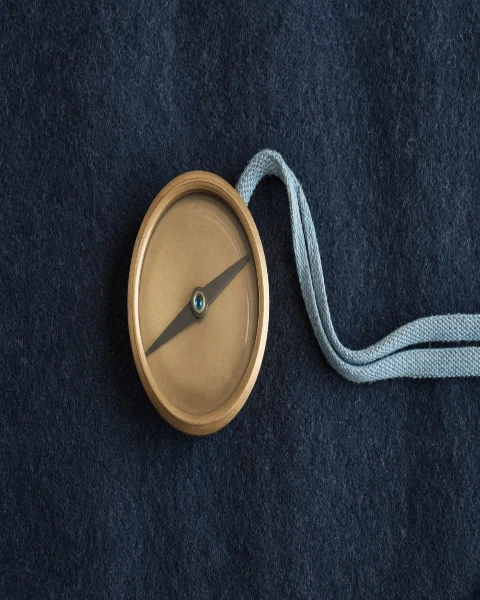
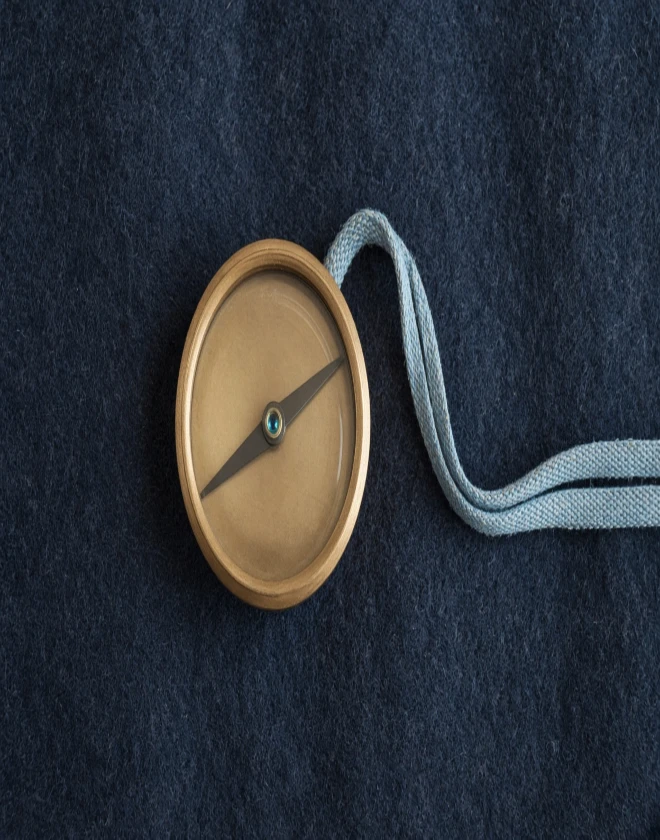
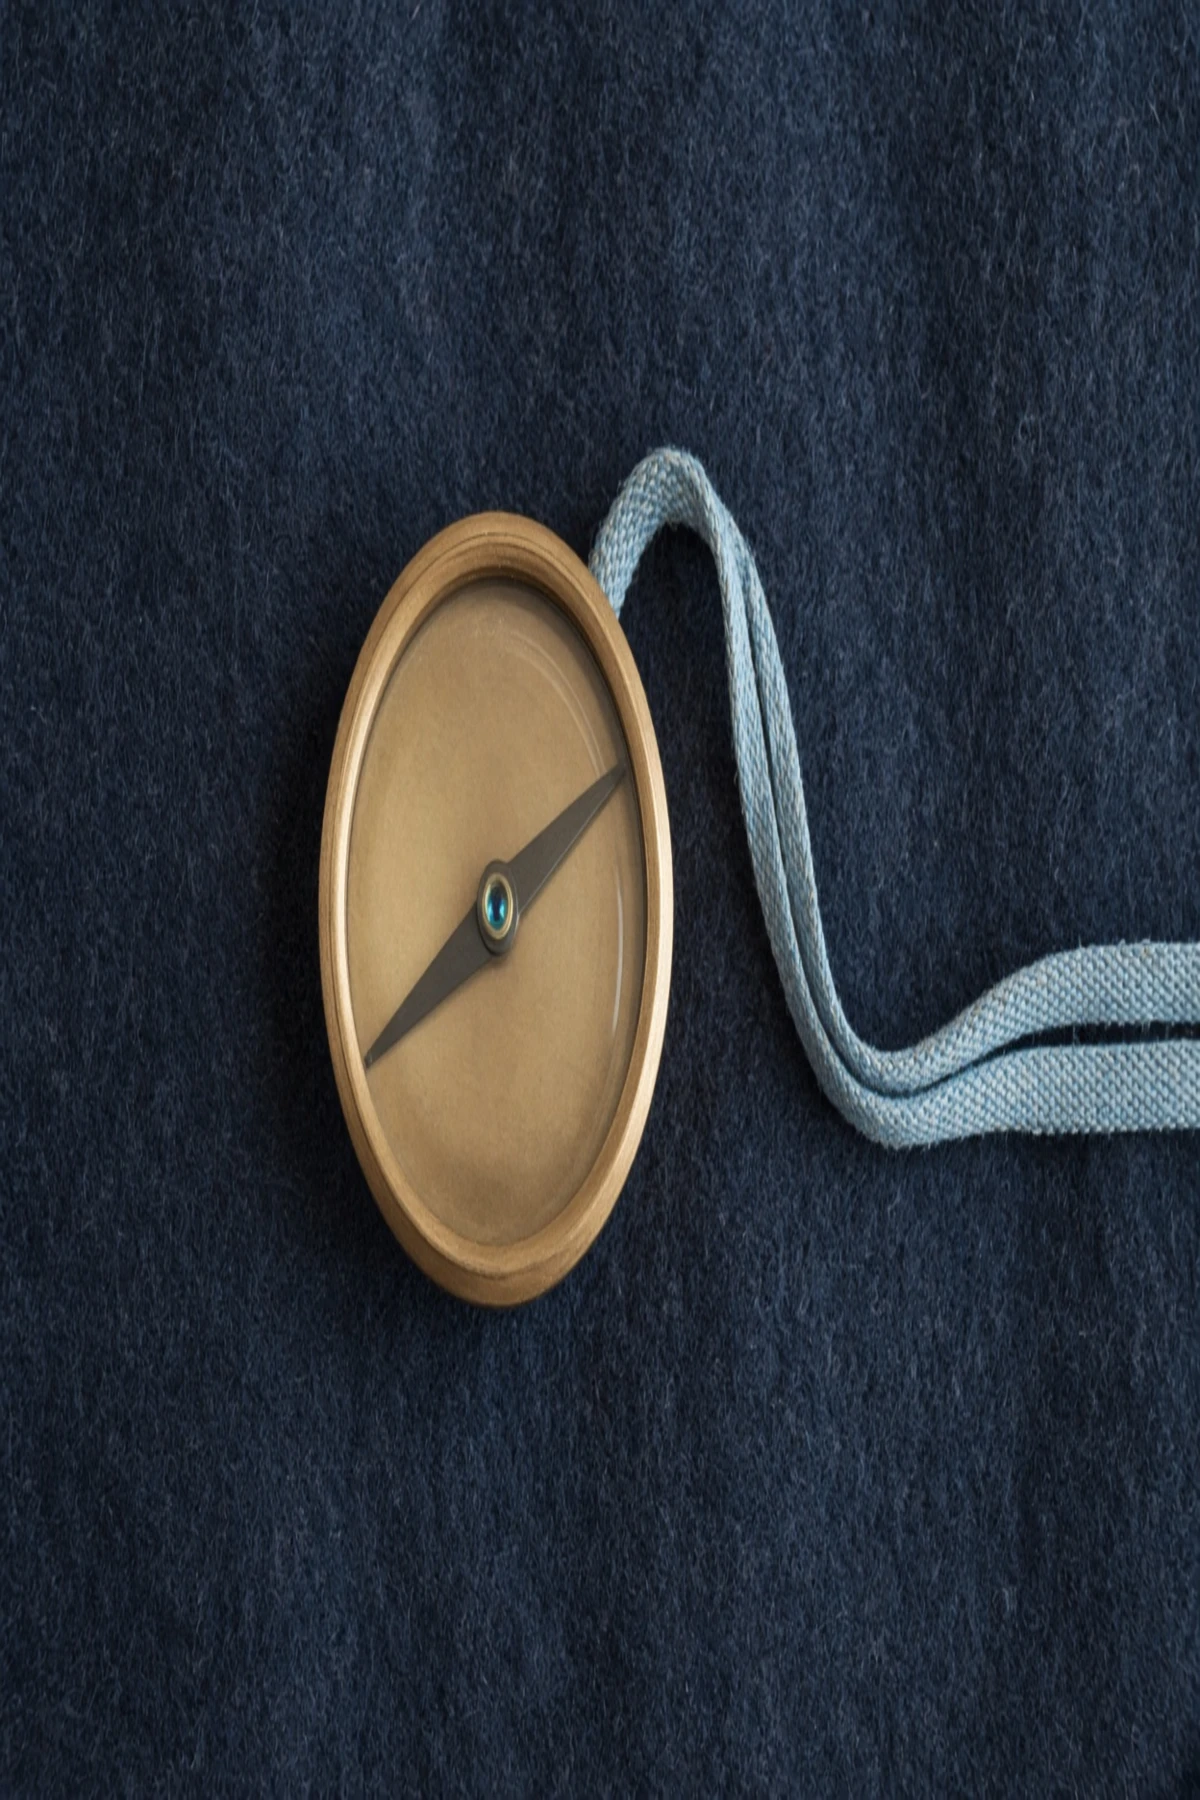
Width on the 4 × 6 file is 240/1248 of the source, about 0.192. Height is 360/832, about 0.433. The dial was 359 × 364 and becomes 69 × 158. 69/158 is 0.44, against 0.99 on the wool. The needle that crossed a circle now crosses a tall oval. The cord, 546 × 313 on the source, is 105 × 135 and still ends on the right edge of the 240-pixel file, the same way it ended on x=1247.
The 5 × 7 is a milder pull, 300/1248 by 420/832. The dial is 86 × 184, about 0.47. It is still taller than the brass, and it is not the 2:3 oval. A 5 × 7 order is not a scaled 4 × 6.
The 8 × 10 uses 480/1248 by 600/832. The dial is 138 × 263, about 0.52. That is the 4:5 family. A 16 × 20 at 300 DPI is 4800 × 6000, the same 4:5 with twice the inches and twice the pixels on each edge. The oval already measured at 8 × 10 is the oval that larger paper keeps.
The 11 × 14 is 660 × 840 here, 3300 × 4200 at the lab. The dial is 190 × 368, about 0.52, close to the 8 × 10 number and not the same fraction. 11/14 is 0.786. 8/10 is 0.8. The papers look related on a wall and they are not the same crop.
The 20 × 30 dial is 345 × 788. 345/788 is 0.44, matching 69/158 on the 4 × 6 and 138/315 on the 8 × 12. The cord is 525 × 677 and still runs to the right edge of the 1200-pixel file. Enlarging within the 2:3 family keeps the oval you already accepted on the small print. It does not restore the circle.
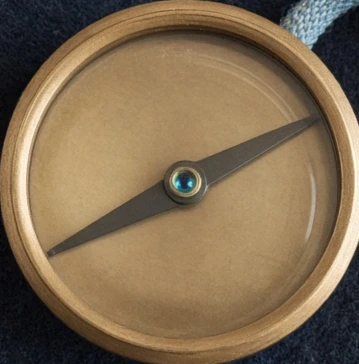
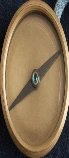
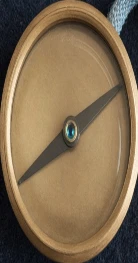
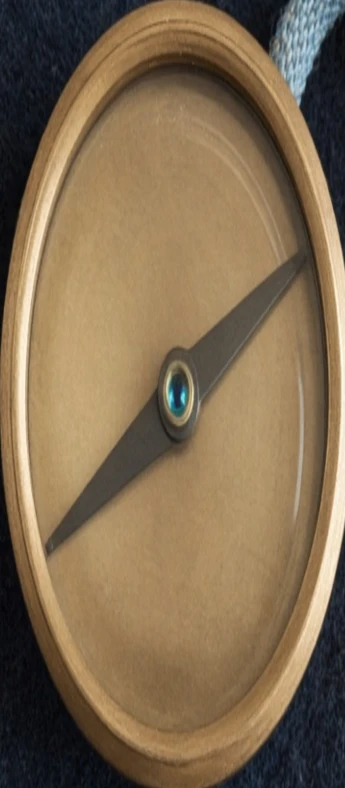
Set the four crops to one height and the widths fall out of those ratios. The source crop is nearly square. The 4 × 6 crop and the 20 × 30 crop are the same narrow oval. The 8 × 10 crop sits between them, wider than the 2:3 pair and nowhere near the brass. That is the whole chart reduced to one circle.
A 4×6 that keeps the dial round
The other 4 × 6 is a window, not a remap of the whole photograph. The window is 555 × 832 on the source, 832 × 2/3, and it starts at x=136 so its right edge lands on x=691, the right edge of the brass. Scaled with one factor, 240/555, it becomes the same 240 × 360 upload as the stretched 4 × 6. The dial inside it is 155 × 157 at x=85, y=102. 155/157 is 0.99, the source ratio, not 0.44.
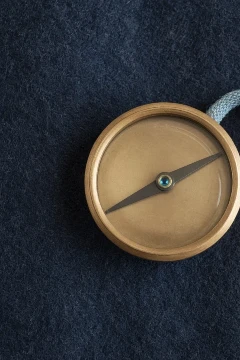
A few threads can still show on the rim, because they sit inside the brass box rather than in the cord’s box. The long cord does not. Drawing the whole 1248 × 832 into 240 × 360 keeps that cord and turns the dial into 69 × 158. The window keeps 155 × 157 and drops the cord. Both files are a 4 × 6 at one fifth of 1200 × 1800. The lab name does not say which one you exported.
Stretch, resize, and crop separates those two operations. On this wool they produce two different 240 × 360 files from one camera original. When the thing that must stay round is a face, or the thing that must stay put is a line of type, the window is the 4 × 6 to order, and a hole you would rather invent than crop belongs on crop or the AI image expander. The full-frame remap is the file to order when the oval is acceptable and the cord has to survive.
Type the row into the tool
- Open the ImageStretcher home tool.
- Drop the photo, or paste a capture from the clipboard.
- Choose Free under Aspect, so Width and Height can take the two numbers from the row.
- Set Unit to in, or to cm when the slip already printed centimeters.
- Set DPI to 300 when the lab did not name another number.
- Type Width and Height from the chart, for example 4 and 6, or 10.2 and 15.2.
The preview is the remap you just measured: every source pixel, independent edges. Download PNG, JPEG, or WebP when the dial, or whatever sits where the dial sat, is the shape the print should show. Unlock stretch ratio is the other control, the one that links the stretch factors. It does not unlock Aspect. A locked preset will change Height when you type Width, and the row in the table will not land.
The inch slip opens from the inches unit entry. The centimeter slip opens from the cm unit entry. A named sheet such as A4 stays on the Print templates, which is not a 4 × 6 button.
A 4 × 6, an 8 × 10, or a 20 × 30 on this chart is a width, a height, and a DPI. The home tool takes those three once Aspect is Free, and the compass above is what that does to a circle and to a cord that was already leaving the right edge.